Word Cloud Creator Step By Step
So you wanna be a Word Cloud Creator? You want to design and craft words into shapes that will make people love and adore you. Hopefully we can give you some tips and tricks to start you on your way down a fun (and somewhat addicting) road. You can use a Word Cloud creator for all kinds of fun things. For this example of how I make a word cloud all pretty I’m going to go with a Halloween theme since it is only a few weeks away.
Step 1:
The first thing you want to do is get the text together. There are all kinds of things you can draw your inspiration from from your everyday life, ancient history, great literature, or even stuff your kids always say. For my example here I’m going to use some text from 3 different sites about the history of Halloween. If you would like to check out my source material you can see here, here, and here.
Step 2:
Next we want to find a fun shape to put these words into that our Word Cloud Creator of choice can use. For my Halloween theme I’m going to use a public domain clip-art picture of a black cat. You don’t necessarily need to use a picture where it is already in the form of a silhouette, but it does make for a fuller looking word cloud if you do.

Step 3:
Fire up your favorite Word Cloud Creator. Some of these sites handle images better than others so I encourage you to try the different ones out. For this example I’m going to be using Tagxedo as I have more practice there when it comes to manipulating my own uploaded images. Following along with me will be much easier should you decide to use the same, but it is possible to take these steps and transfer them to your site of choice.
Step 4:
Getting your image in place for the word cloud creating is the next step and with Tagxedo you want to click the arrow next to Shape towards the bottom of the menu.

You’ll have to click Add Image in the bottom left corner and navigate to the folder you saved your image, then click Open. You should now see your new shape and some sliders that you can play with to get a crisper looking image or a more blobby one. Just click Accept to continue.

Step 5:
Now that your image is ready to become a word cloud you’ll need to enter your text. You can do this by clicking Load… at the top of the menu.

From this window you can enter your text as a file, a web address, or enter it directly which is what I’ve chosen to do here. Then click the Submit button and close the window with the X in the corner.

Step 6:
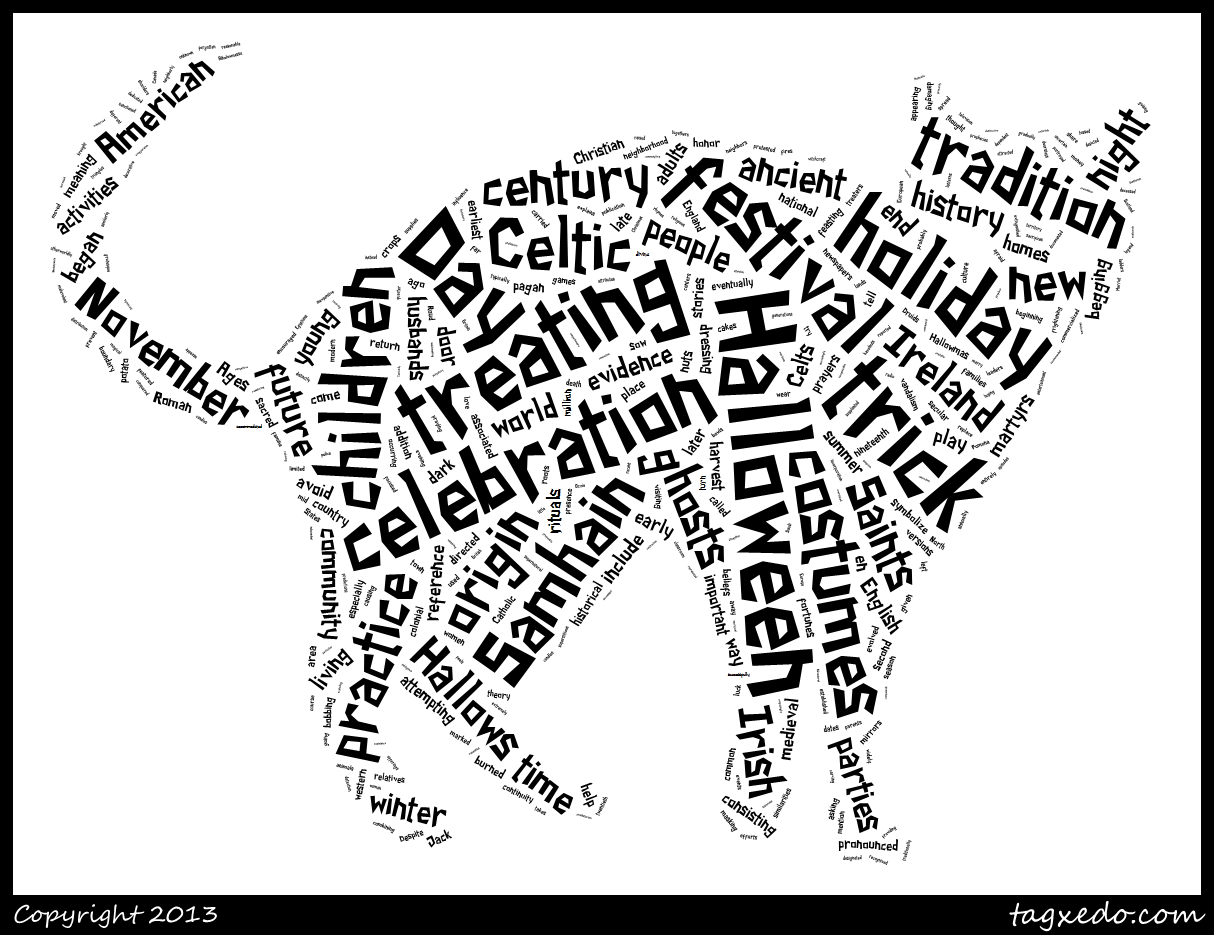
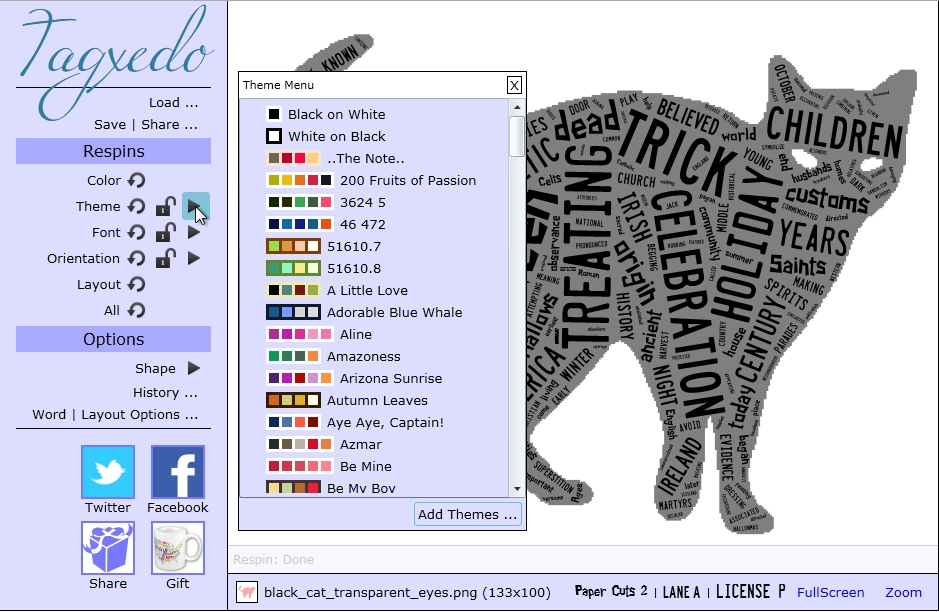
Now you can see the word cloud starting to take shape. The shape of a cat in this case. Next I like to play with the Theme which you can do by clicking the arrow to the right of Theme. There are a lot of fun color combinations, but for this Halloween special I’m just going to use Black on White.
Step 7:
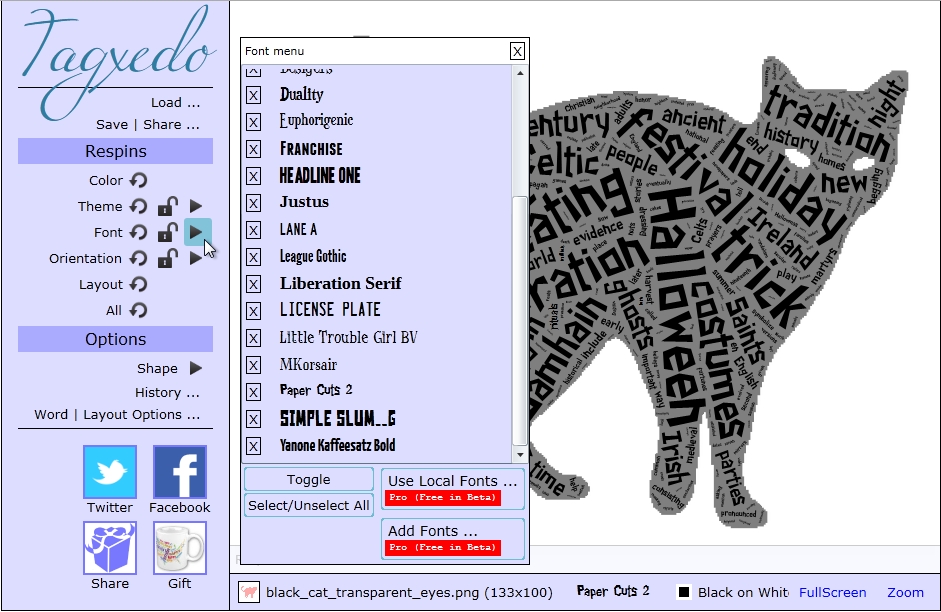
With the color theme set you can play around with the font next. By default there are 3 different fonts selected to give some variety. You can change the fonts or even add your own by clicking the arrow to the right of Font in the middle of the menu. I changed my fonts to use only Paper Cuts 2 to give it a more Halloween look.
Step 8:
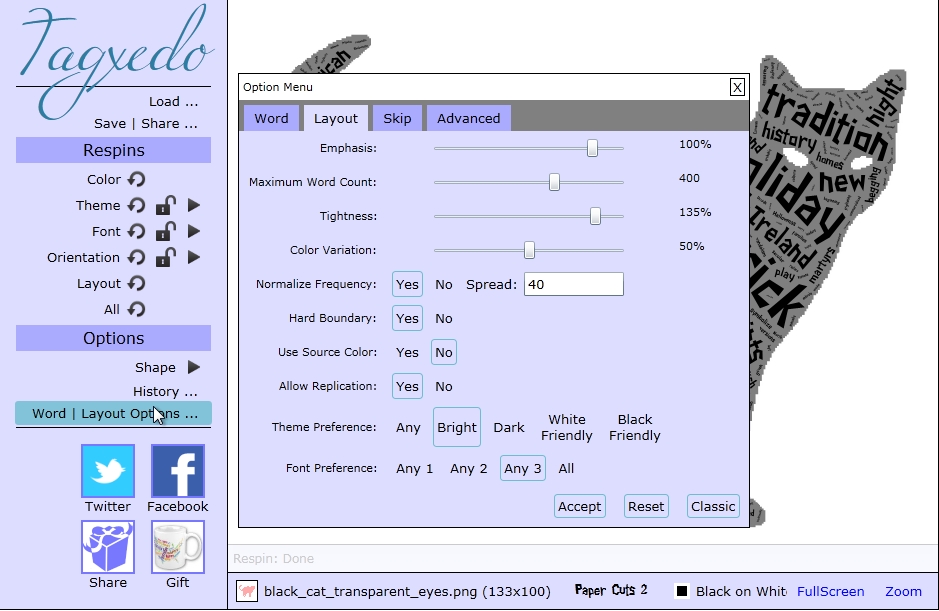
The last thing I do before the word cloud is ready to go is play with the Word/Layout Options at the bottom of the menu. You can change the Emphasis to make the most used words stand out more or less. I’ve changed mine to 100% so the juiciest words are bigger. You can increase or decrease the Maximum Word Count in order to see more or less of the words displayed from your text. There is also the ability to change the Tightness. This allows the words to be closer together and help things take shape better.
Step 9:
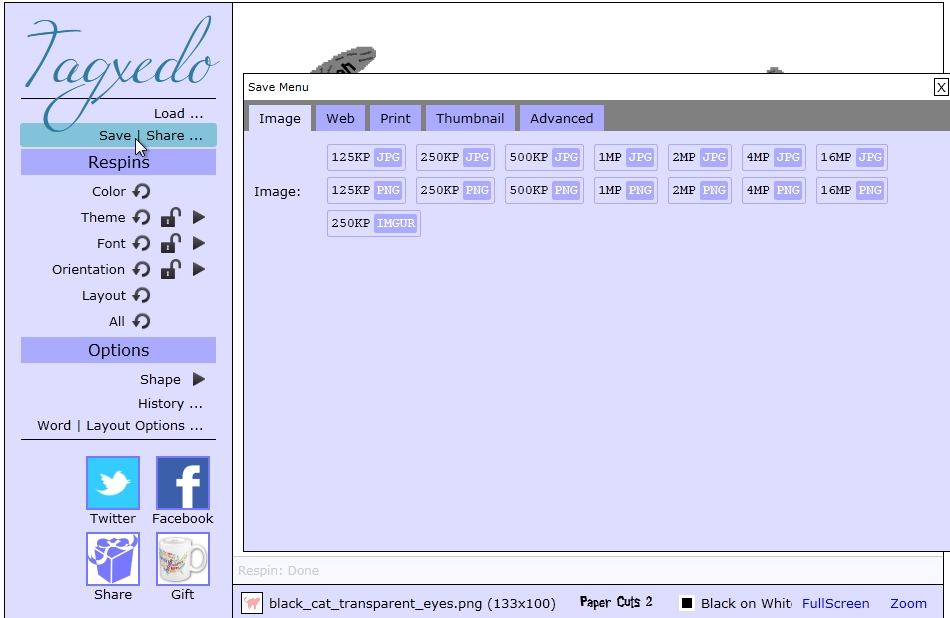
The last thing we need to do is click Save/Share at the top of the menu to get our finished product. There are several formats to choose from to save your word cloud creation as an image. You can also save it directly to the web or print it from here as well. Tagxedo’s word cloud creator also allows you to share your new wordle on Facebook or even create a Zazzle.com gift from it.
So there you have my step by step process of using a Word Cloud Creator. I hope you have lots of fun making your own wordles and sharing them with the world!